Tuesday, September 13, 2011

THE BIG ONE ON ONE CHALLENGE REVEAL!!!!


That's right my friends. I am here. For a while at least. :) And, if you look at the headline/title of today's post you'll see what's going on today. You remember about a week ago when I told you all about a challenge I was doing with the one and only Dede? Dede is pretty much a hero of mine when it comes to art, and so when she said she'd love to do a challenge with me, it made me pretty happy. :) I didn't tell you guys what the challenge was going to be, but now it's time for the REVEAL!!! Looking at the edited/words added picture above, you can see the color combo for the very first time; Navy Blue, Hot Pink, and Yellow. Now mind you, when I was DMing with Dede on twitter I picked those colors right off the top of my head, with no thoughts about how hard it would be. Dede probably came up with something totally awesome with no trouble. :)))) But I had a little difficulty with this combination for some reason. I think my problem was that my yellow kept mixing with the navy and making lime. :) But after enough layers I finally came up with this:


Yeah. I like it. A lot. It was really fun to make, and it ended up exactly as I had visioned it. Pretty much. Actually, I've been dropping a bunch of hints about this color combination. Probably about three or four. :) I wanted to see if anyone would see a pattern in my work. I would actually show some things with those colors in it. For example, I think I did an index card, a loose paper, and I told you about one of the homemade stamps I was using. You can see it as a border around the top half of the page. The journaling was just done on white cardstock with a regular sharpie. I glued it down, then ran over the top with yellow paint.
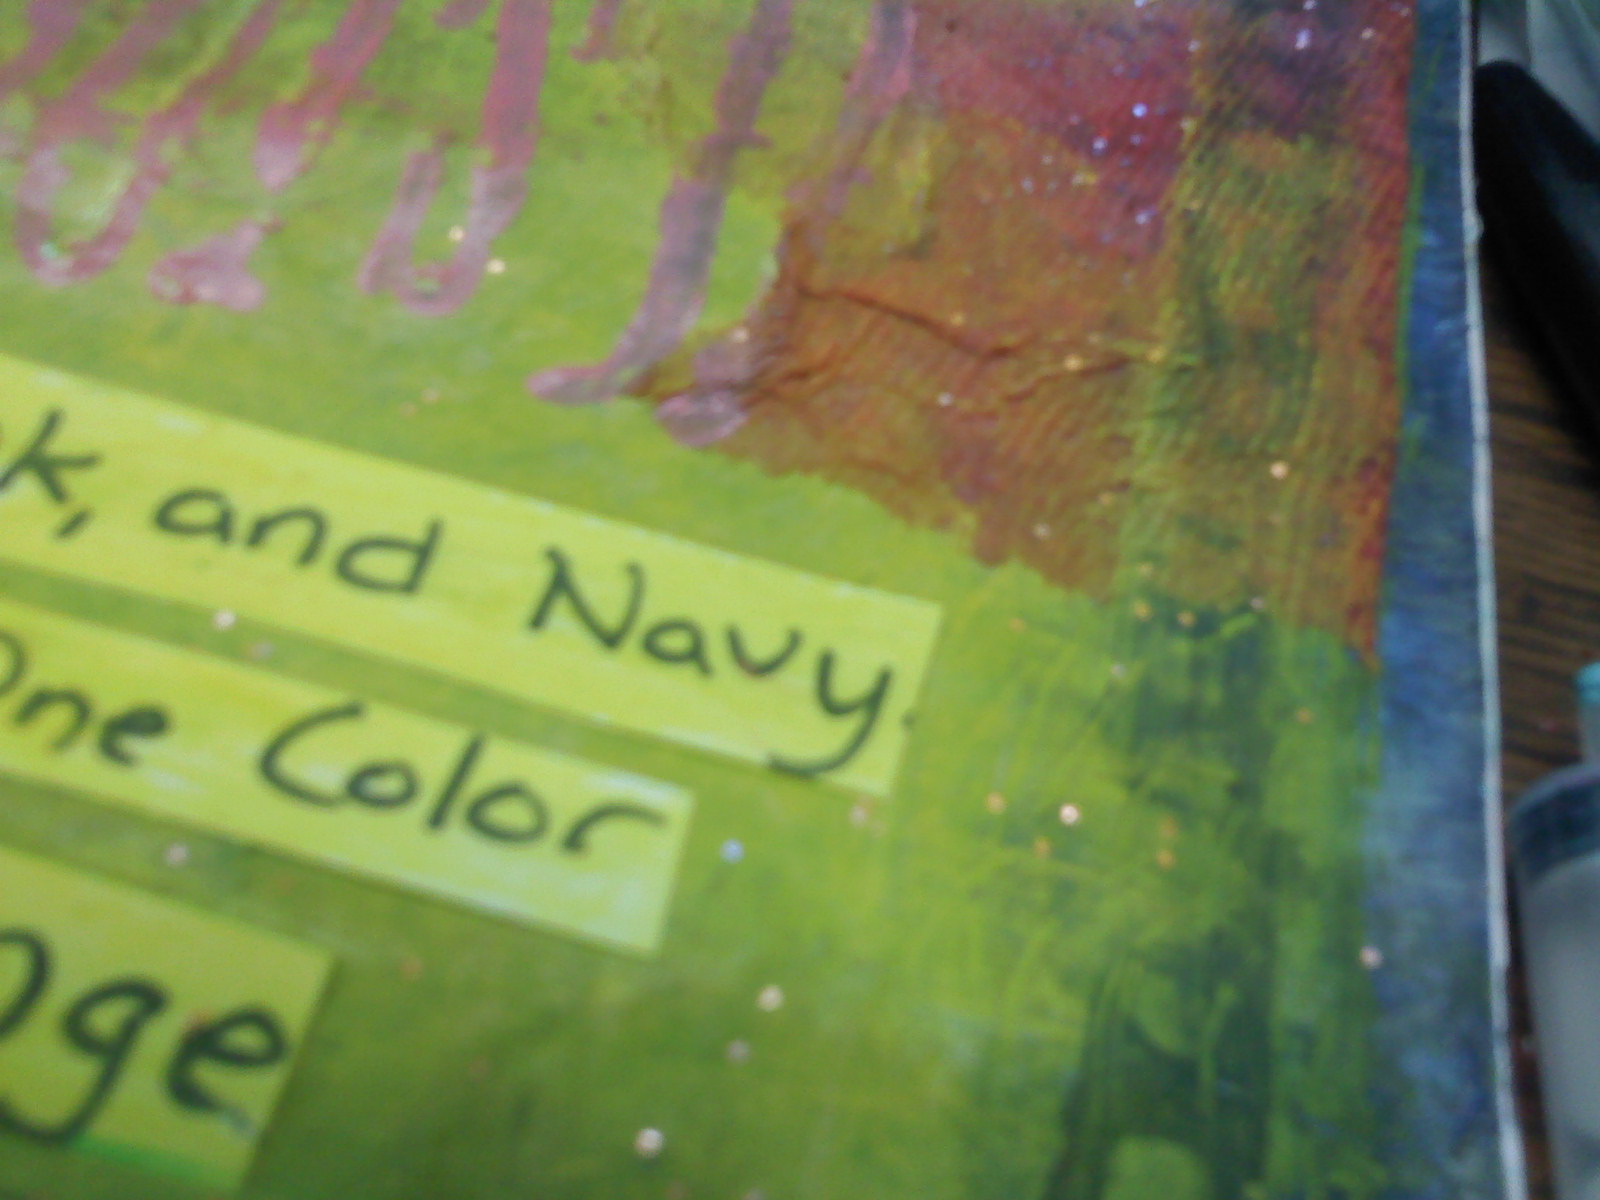

Here's that just a bit closer, and you can see some of the scattered glitter pieces around the edges of this piece. I love the way the glitter went around the page though I sort of focused it in this corner:


And here it is. :) For you followers of my blog, you may see (or at least sense) something a bit familiar in this page. If you haven't been reading my blog you probably won't. But this corner was collaged with... you might have guessed it... the paper towels I dyed a few days ago!!! Yeah. It is. Doesn't it look cool? I just loved the texture that it added, and I thought it looked pretty cool. I'm glad that I finally worked up the courage to push through and actually use one in a piece of art. If you remember, the paper towels actually looked really light in color. But what I found is that when I collaged them into my piece, they turned darker, to a hot pink. It was pretty cool. So... make sure to hop on over to Dede's blog... she'll be posting her page for our challenge after I. :) No ICAD today, but hopefully one tomorrow, when I'll see you guys again!! And that's all she wrote.

Monday, September 12, 2011

Altered Book Page + ICAD #10


Hey guys! Even though I finally managed to get on here after a full day of school and homework, today's post is going to be fairly short. I didn't have all that much time to be creative today, so the altered book page I'm showing you is from a few days ago, and the index card is actually the only thing from today. Sorry about that. Sometimes I get really caught up in work and stuff and today my teachers totally killed me with homework... so. Yeah. Anyways, let's get right to it shall we? If you look above at the first photo, you'll see an altered book spread that I've been working on. I love the way it's turning out actually, and I think it's a lot of fun to mess around with. The texture of the pages in the book I'm altering are actually quite heavy in comparison to the pages I generally work on, even though they are glossy. Sometimes the glossiness of them makes them difficult to work on, but I find it a unique challenge to work with. In my opinion, that's how I learn. If I have problems with something, just work more with it until you can figure it out. You know what I mean?


And my index card of the day. :) This is a bit of a continuation of the card I showed yesterday. That's sometimes how I work on my cards. I'll work a bit on a background, and then just layer over top of it. This card was basically composed of layers of stamping. I actually really like the way it turned out. I started out with the experimental, my own technique background, and then used a foam stamp and black paint to stamp swirls over the top. Then, over top of that I used a hand carved eraser stamp and some light teal paint. Then I collaged the word in the corner. You know the deal by now. This was pretty fun... now that I think about it, there might have been a class on 21 Secrets about layering stamping. Hmmm... I'll have to check it out. :)

Speaking of techniques though, I looked at the techniques that a couple of you guys posted for me yesterday. :) They sound so cool! I'm ready to try some experimenting now, and I'm waiting til I can find the time to do that. Also, I'm glad that I'm inspiring you all... comments make me feel that my blogging is actually worth the effort, and that there's actually a PURPOSE for me doing this. :) Now it's more than just a personal record. It's a personal record that I'm sharing with others. Also, if you're inspired by me, and you have a blog, I would LOVE it if you would post on your blog and leave a link in the comments. You don't even have to link to me. :) You just get a free linky in my comments, and I get to know that I'm giving people inspiration. :) Thanks for looking, and I'll see all of you tomorrow!

P.S. Check in tomorrow for the final reveal of my one on one challenge with the one and only DEDE! :) I'm working on putting the finishing touches on her page. :)

Sunday, September 11, 2011

Collage Unleashed Progress + A Challenge!!


Hey people of earth!! I'm back in the blogosphere with another daily blog post for all of you. Today I worked a little bit in Traci Bautista's book "Collage Unleashed" and did the first project out of it. It was dyed paper towels. I'm not really sure how she gets hers to be so vibrant. Mine are always muddled and so dull. I need to experiment and try to get some better color. If any of you have any suggestions for my epic fail of paper towel dying, then I'd be happy to listen to any advice. Even if you're not sure the suggestions would work, please tell me about them in the comments, since I am always looking for new ideas. Even if it doesn't necessarily work for the original purpose that it was thought up for, with a little editing, we might have a new technique on our hands. :) That's the way I think of it.

With these paper towels I mostly worked with pinks and reds, but I used a bit of a blue and turquoise in there as well. And some metallic copper. I think my problem is that I'm using too much water. Or not enough pigment. Because you have to mix your paints with some water to make these towels. I used a bunch of acrylic paints, some sumi inks, and some watercolor paints (liquid). I love the way these turned out, but, as I said, I just wish they were more vibrant. Oh well. You win some you loose some.


Here was my basic setup/collation of supplies for this project. I just collected all the supplies that I thought I could use for this. The thing it, I always love pictures like this; you know, just a picture of the supplies, so I thought I would try one for a change. That's why I love Traci Bautista's blog so much though. Especially because of her "Snippets From the Studio" series. They are just so cool. Anyways, in this picture, I had just culled a bunch of acrylic paints, poster paints, tempera paints, higgins inks, glitters, gesso, canning jars, some syringes, and a few other things. And after I set them up I photographed them. It's as simple as that.


And here I have an index card I worked on today. I didn't finish it, but it didn't turn out half bad if I do say so myself. It's a technique that I've been experimenting with (I've been designing it myself). One of my favorite things to do actually is come up with my own techniques. It's so much fun to think of something that nobody else has ever before. You know what I mean? How about today I challenge YOU to come up with your own technique today? Post it on your blog if you have one, and link to it in the comments. I'll make sure to give it a look see. And I'll probably try out every single one in there. Let's do that! You post a link to your technique in the comments, and I'll try them out and post them as I do them! And, if you don't have a blog, then just type it out briefly in the comments section. :) So I challenge you today to post something for me. :) See you guys later.

Saturday, September 10, 2011

An EXTRA-LONG Post...


Hey guys! I'm back with you guys today, and sorry I didn't post yesterday, but I had a total volleyball MARATHON yesterday!! I did create a little yesterday though, so I'll just do an extra long post today. Oh yeah. And I did join a volleyball team a few days ago. My first game is Thursday! Wish me luck, we're gonna need it. :) So anyways, now that I've got you up to date on pretty much everything else that's going on in my life (which obviously isn't much) let's get to the crafty/art version. It's like my life is in two different stories. One for art and one for the rest of everything. Anyways, let's get started.

If you look above at the page I was working on today, you'll see that I just finished a page in my art journal. :) I kind of love it, and I think it's really pretty. I'm also starting on a sort of online art journal course (yes another. :P) and I'm probably gonna make a journal for that. This is actually a page in my 21 Secrets journal, and I love the way it turned out. I journaled, and put the title down in the corner. I actually used this same word on one of my index cards that you've already seen, but this just seemed to fit the page perfectly. Normally with art journaling I end up putting the title down first and then journaling what comes to mind when I think about the title. You might do it in some other way, but that's how I work, so that's what I'm doing. :)


Here's just a bit of a close up of the title and a bit of the journaling. Most of the journaling was really light; the gray circles were really textured since I used gesso to lay them down, plus did some lifting which added even more texture. Then, when I went to write on them, the ink in my pen just didn't flow as well. But, for emphasis, I did the last few words with a Sharpie. They go over anything.


Here are my index cards from yesterday and today. I love the one from yesterday; excellent texture, and I am really loving the textures. But seriously. The second one is kind of annoying to me for some strange reason. Don't even ask me why. I feel like it's just overly simple or something. I was considering just trashing this one altogether, never showing it on the blog, and simply counting this as one of the five "free days" we get for ICAD. But when I really started to think about it, I finally decided against it, since this is really about creating, and just having fun. And I did have fun. So that's what I'm doing, and I'm keeping it. That's my story and I'm sticking to it.


Also, today, I worked on making some of my own stamps. I've been having a whole lot of fun making these recently, and I just love the way these two turned out. To make them, I simply cut some pieces out of cardboard (it was actually just a cereal box) and then did some punching on some craft foam. The one on the left was REALLY easy to make, and really quick. The one on the right took a bit longer, but I really love the effect I get with it so it was totally worth it. I love the variety I can get with making my own stamps. I love that I can literally make anything that I want, and it can be as epic as I want it to be. It's really cool. So far I normally just use black paint to stamp, but I've occasionally used other colors. I also used one of these (I'm not going to mention which) on my page for mine and Dede's challenge. I know that I'm torturing you here, but that's all the more reason to check in here on Tuesday, right?


One last thing before I go. This is a single, loose page that I've been working on for a bit of collage fodder. I love the way this turned out, even though it was just made by picking up paint from other pages (you can see the lifting from the circles of the page I showed at the top of this post :P) and a bunch of other colors I've just been messing around with. I love them so much. :) So that's pretty much all I've got for you today, but be sure to check in tomorrow. Okay? Okay. See you guys later! Bye!!

Thursday, September 8, 2011

ICAD #7 + Cool Background


Hello my friends!! I'm here once again. I'm glad to be back after another long day. This really relaxed me. Just plain old writing about something I enjoy. You know what I mean? It's nice to actually have something fun that you can do. I decided to try something new today; working on a piece of photo paper instead of plain cardstock or paper. I was playing around, and trying to come up with new techniques, and I thought it would be interesting. It did come out pretty cool. I started with gray and added a dark green on top of it. I lifted some off and added a bunch of other stuff on top of it. It turned out really nice.


Something else that I promised I'd show you guys today was the lifting from the index card from yesterday. It's shown above. Doesn't it look cool? I love it! Actually, I love it so much that I used it for today's ICAD card.


And here it is! It was so decorative that it just needed a word. I chose this orange one because it seemed to fit well enough. But, as an advantage, I just thought it looked cooler this way. :) That's all I've got for you today, but I'll see you guys tomorrow. :)

Wednesday, September 7, 2011

ICAD #6 + Background Tutorial


Hey guys!! I'm here. Once again. :) Yes. I'm so happy. :) Today I've got a really cool thing to share with you. I was working on an index card today, and came up with this technique, so I decided to share it with you guys. You know how I was telling you about "lifting" paint onto cards? Well I started with one of those today, with a dark blue background. You can see how cool this looks so far.


Now I just used some yellow poster paint and totally covered the entire background. I coated it on there pretty heavily. It looked green instead of blue for a second, but I take care of this in the next step. I love it so much.


You simply take another card and place that down on top and lift it again. So see what I've got? Two backgrounds already. :)


And for this finished card, I took the yellow and blue card and painted blue all over the top of the card, and lifted once again. The other one looks pretty cool too; the one I used to lift it off. Then I simply collaged the piece down in the corner. I'll show you the lifted piece tomorrow. :) I was also working on some backgrounds and stuff for my color challenge with Dede. I'm so excited for that. :) Working it to the extreme. :) And that's all I've got for the day. See you guys tomorrow. :)

Tuesday, September 6, 2011

Paper Beads and ICAD #5


And I'm back with you crazy people again. :P Just kidding, I'm sure I'm probably crazier than all of you combined. :) Today I have another index card (this time one of my favorites of all time) and a note about paper beads. Again. :) Let's start with the index car, shall we? Lets. If you look at the picture above, you can see the index card that I pretty much just finished. I really love the way this one looks, and the style itself really reminds me of Traci Bautista, who is pretty much one of my favorite artists of all time. This is probably one of my simplest cards yet. I started with a plain old card, and then I put down a layer of yellow acrylic paint. While it was still wet, I put down some light teal in the extra places, and then blended it into the rest of the card. The technique I used was actually inspired by the GPP Street Team crusade this month. I'll probably be working on it some more, so this isn't my official challenge entry. :)

But anyways, the way the technique works is you take a stamp after blending the background, and apply the same two colors you used for the background to the stamp. Then you just stamp it over the background. It creates a really cool effect, since the color disappears in some places, and is more vibrant in others. That was the whole background.  Very easy. Then, I simply added a strip of paper across the whole card (another piece cut from a color copy of my work; let me know in the comments what you think of a series on finding collage fodder) and then added the words that I cut out of a magazine. Yesterday it was 'More' and now it's 'More Power'. Pretty much the same thing, but at least I know what I'm thinking about I guess. :/


And here's a really cool picture that I took of my general working area when I'm making beads. I use my pallet to put glue in, and put beads wherever I can as I make them. All the beads I'd shown you before had been made on a small needle, but I decided to see what the difference would be if I tried using toothpicks. So far I like the way it's been working out; they're easier to work with compared to a needle, since they're that much thicker around, but they're still a reasonably thin hole so beads probably wouldn't fall through if I tried to string them with something else. Now that I think about it, seed beads might, but I'd just have to remember to put a larger bead right next to it. Some creative stringing, that's all I can say. We'll see how this goes.

One note; I'm sorry about the quality of the pictures lately; I've been using the camera on my phone, because during the move my camera cord sort of went missing. Plus I think I lost my SD card. After I find those things, the quality of the pics will probably improve. But in my mind, I'm thinking that some poor quality pictures is better than nothing right? Plus, it's not that bad until you enlarge them. :) So that's all I've got for you guys today; wish me luck for my Drama class at school tomorrow; I have to read a two minute piece in an accent. I chose a british accent, but I'm just hoping I don't crack up while I'm doing it. But I have been told I do a mean british accent. :) Anyways, wish me luck and I'll see you guys tomorrow!! Bye!
Related Posts Plugin for WordPress, Blogger...