Showing posts with label painted papers. Show all posts

Thursday, January 24, 2013

Peace - Art Journal Page


Okay guys. I am here with you guys again today, though I really doubted I was going to be. I had a ton of homework in Anatomy and Algebra II, and, from that, I wasn't even sure if I was even going to have time to do any art at all. 

I ended up finishing all of my work around 9, then sat down to make something. I didn't know what I was going to do, but I decided to go with it anyways. I took my journal that I used for the In the Sun prompts this last summer, and flipped to the next available page.

It was painted yellow, and there were quite a few layers underneath of it.


That's part of what I love about this kind of journal. Since the pages are already half-way done, they go together super quickly. So I can actually make something that looks respectable on a day like this. When I literally have no time. But still want to create art.

Then, I added the collage. The piece of chevron type paper was actually made for my first 52 Sparks page. If you look in the background of the page, you'll see what I'm talking about. It's under a ton of layers, but it's still there. This piece was left over from collaging that. I saw it on my desk, and felt it went nicely with the background. So down it went. The heart, which was also lying on my desk, followed soon after. 
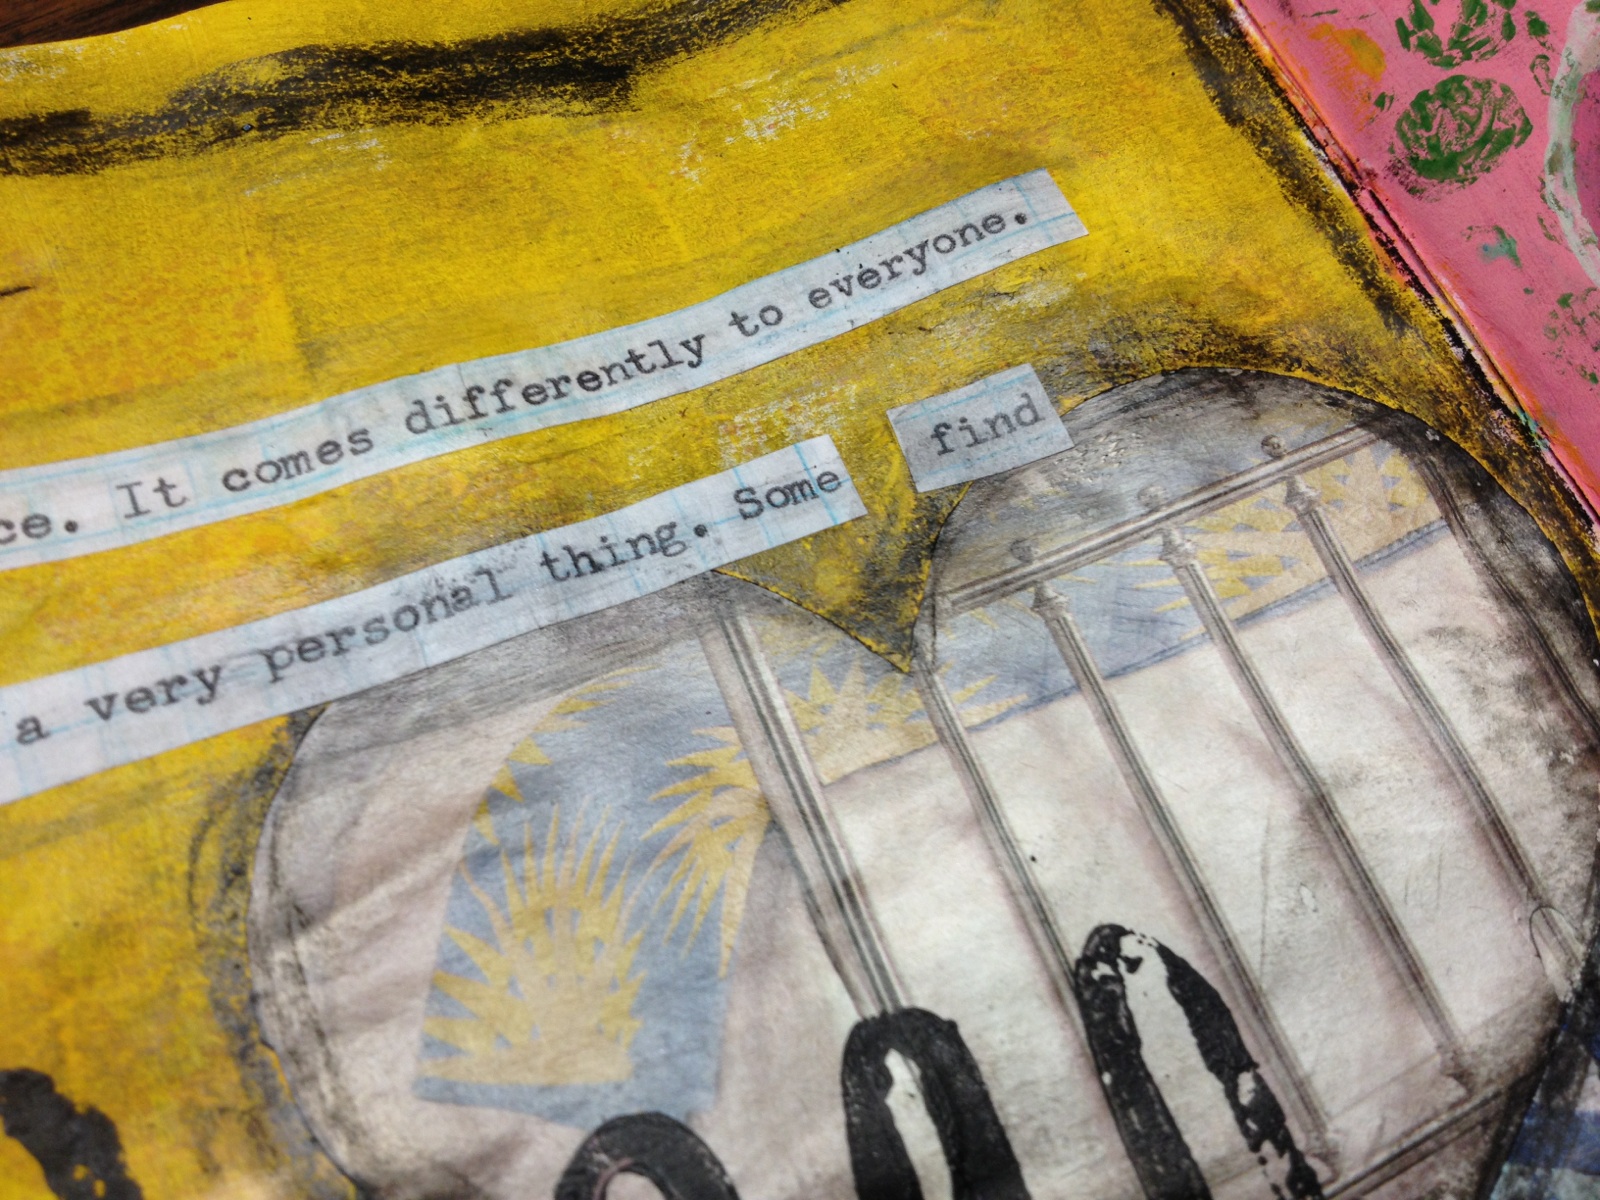

I grunged up the background a bit with some RoseArt crayons and chalk pastels, then added a title and some journaling. Then I was done.

Going back to the concept of stopping when it's finished. Even though there weren't many layers on this page, as there are with the majority of my work, I liked the way it turned out. I didn't want to force it to be something that it wasn't. I would have ended up ruining it, though I'm perfectly satisfied with it right now. I like letting art develop on it's own. To me, that's what makes it special.

So that would be that! As a side note however, it is highly unlikely that there will be a post either tomorrow or Saturday. I had meant to get some posts stocked up to post on those days, but I was so busy, I didn't have time to. I'm going to a sports tournament type thing, and I'll be gone until 9 P.M. on Saturday night. I'll be so focused on sports, I probably won't even think about art. I might bring a couple of things to mess around with, but I probably won't be posting. Just a comment. 

Anyways. Thanks for visiting! And I'll see you guys next time!

Thursday, July 12, 2012

Summer of Color 2012: Week 5


Hey guys! How's it going for all of you guys out in blogland today? I hope it's been going pretty good. I managed to sit down today, and do a TON of art. It felt good too, to churn out so many different projects. However, I only have a couple of things that I really want to share with you guys today. First and foremost, we are going to have my Summer of Color papers. For this challenge I have been doing a small batch of painted papers for each week. This week was purple, blue, and green. I love the way that these papers turned out, and am looking forward to doing the final week. It'll be pretty cool. After that's done though, I'll be ready to start my next project, using these papers. And I think that it's going to be pretty cool.

For the papers today, I used mostly watercolors on a plain copy paper background. It was easy to do, and quite enjoyable, in my personal opinion. I just got to experiment with shapes, and the way that the different colors blended together.


Here's the second part of the challenge. Again with the watercolors. In the past, I've mixed up a batch of acrylic paints and whipped together some papers, and then mixed the acrylics with watercolors and washes. But this time I really wanted to go simple. And back to the basics of simple watercolor.


The other thing that I wanted to share with you guys today is this art journal that I recently started working in. I was considering using this journal for my In The Sun Class (which an update is coming for tomorrow), but I decided, after working on it a little, that I was wanting something a little bit bigger. This journal was handmade and bound by me. What I did was take some envelopes in multiple sizes, folded them in half, and then simply sewed them into signatures. Then I sewed the signatures together, and that was that. I actually made this a while ago, and was trying to figure out if I had mentioned this on the blog before or not.

However, the photo above shows what I did on the front cover of the journal. I used several layers of acrylic paint, some of which were already there. Then I added some stamping, and then the black border with a Portfolio oil pastel crayon that I bought at Staples. That's what I have so far on this page, but I still need to add a title. A title for the journal. To really show what I want to to with it. So this is really more of an unfinished sneak peek than a finished thing. Though I still wanted to share. Anyways. That's really all that I have for you guys today. And I'll see you guys later! Bye!

Wednesday, January 18, 2012

Watercolor and Acrylic Background Tutorial


Today we are going to be focusing in on another tutorial. This was actually scheduled for yesterday, and yesterday's was for today, but I decided to switch it up a little. Normally it's going to be "Tutorial Tuesday", but I guess today it's going to be a Tutorial Wednesday. That's not too bad. Anyways. The tutorial that I'm going to be showing you guys today is how to mix different mediums to create one cohesive piece. That's one of my favorite things to do. Mix different kinds of materials in one thing. That's why they call it mixed media after all. Okay. So first things first. What we're going to be making. You can obviously do this technique anywhere that you want, but the easiest way for me to do it in a tutorial format would be to show you on plain pieces of copy paper. You could do it on cardstock, mixed media paper, in a journal or sketchbook; anywhere that you would normally use any other technique that you find floating throughout the internet. Let's get started.


The first thing that you're going to do here is prepare a pallet. You've seen me doing this on multiple occasions, so you're probably pretty used to this by now. Now let me give you a really quick run through of the supplies that you are most likely to use. You're going to want a little bit a tube watercolors. This forms the background, and is used in many layers throughout the technique. Next, you're going to want an acrylic paint in a similar, but NOT identical color. If it's identical in shade, then, in my opinion, it will not have enough variation to make an interesting piece. You could try it though; I haven't yet. The last type of paint that you're going to be using is just a plain white acrylic. I am using a poster paint, but you could use any kind of acrylic that you like. You're also going to need some paper (or whatever surface that you are going to use), and a paintbrush. The paintbrush that you use for this technique NEEDS to be one with the natural bristles. The roughness of them gives the right texture that we need for this technique. A softer brush will not work.


The next thing that you are going to do is mix a little bit of your tube watercolor with water, and spread it all over the page. Make sure that you are very haphazard with where you are placing your marks, and don't over think it. Just play with moving the color around on the page. I cover almost the entire background in this first layer, but you can certainly do a lot less if you wish. This is just this particular page. I first came up with this technique when I was just playing around with a bunch of supplies, so it's a very experimental technique that is very open to suggestions.


The next step is going to be to add some white acrylic paint to the page. Again, be very spontaneous, and don't worry about what comes next. I added some layers of the watercolor on top of this, and then alternated back and forth, blending a bunch, and just trying to come up with an effect that I enjoyed.


To finish off the technique, just work with the supplies you have. I added the acrylic paint, and mixed that with a little bit of the white paint. Then I took a paper towel and lifted some of the paint up off of the page, and then dipped it in watercolor and dabbed it over the page. I also added some more layers over top of that, and finished off the page by putting some little rectangle splotches of watercolor over the page. This technique will be very different each and every time you try it, so be prepared for that when you do it. As you can see, this blue page is a lot different than the pink one that I showed at the beginning of this post.


I don't really know what's up with me lately and making big batches of colorful papers, spreading them out on the floor, and taking pics of them to share with you guys, but I guess I just love the way they look. These are all pages that I did today in about a 45 minute time slot. As you can see, you don't have to have a lot of time to create a bunch of quality backgrounds.


This is just another angle of a couple of the pages, and a few others. Some of these were done with this technique, and others just used portions of it. Some used none at all, and were just made because of the fact that I had leftover paint on my pallet that I wanted to use up. That's another thing that I tend to do. I hate being wasteful, so I'll make tons of other papers to make up for the paint that I would otherwise just throw away. That's what I've got for you guys today, and check back tomorrow for yet another post.

Monday, January 16, 2012

Pallet Cleaning Tutorial


Hey everybody. I'm back with you guys today, and I've got something that I would call kind of cool. Although I'm kind of biased in that aspect of course. :) So today I've got a little type of tutorial for you. I know that a lot of you out there in the painting and art world use pallets to hold your paint. I don't really know how many of you let the paint cake up in it like I do, but I'm going to show you a fun, creative and useful technique to clean it, if you do this. It's fast, it's easy, and it's not as wasteful as just dumping all of that excess paint into the drain. Plus, that's probably not the best when you want to keep your drain unclogged. So let's get started.


The first step is to choose which section of your pallet that you want to clean out first. But let me note first that this method of cleaning is a bit slower, but it's a cool technique in the long run. After you've chosen the section that you want to clean, you're going to dump a little bit of water into that section. Then, you take a paintbrush, and mix it around. The paint will mix with the water, coloring the water and dissolving the paint into the water. I must tell you that this doesn't work with all types of paint, but I always find that it's at least worth a shot.


Then, you just load up your paintbrush with the paint and the water, and spread it over some paper. It works the same way as a color wash does, and gives you lots of colorful, pastel like pages to use in your work.


Here's a pile of papers that I did just today off of my pallet. They always seem to turn out nice and colorful. Just a hint, darker colors work best for this technique. That gives it a bit more colored pigment to mix with the water, and it doesn't turn out as just being a hint of color on the paper that is barely even there. Anyways. That's the tutorial for today. I hope that you guys enjoyed it. One last tip though, is that you can use these papers and scrape paint on top of them, stamp on them, stencil them, spray inks, and in other words just layer over top of them. A lot of times they can turn out really well, and you can never tell that they were made from leftovers. And there's no shame in that.

Wednesday, October 12, 2011

Painted Papers and a Blotted Paper Towel


Hey everybody. :)
I was working in my studio a bit more today, making some more papers. 
Today I worked with markers and water soluble oil pastels.
I love the way they turned out, and I worked with a plastic sheet this time, so the effects are slightly different. 
Today I did six different pages in several colors.
I did a bunch of things, working with experiments. 
You know the drill.


Another thing that I was working with is coming up with a blotted effect on paper towels.
And I sort of achieved that goal.
You know what I mean. 
I think it's my favorite part.
I did this in different shades of purple using markers.
Yep. 
That lightened version from markers.
You'll see how I did it eventually. 
Mwhahaha. :D

That's all I've got for you guys today, and even though it wasn't that much, it's still something, right?
:) See you guys tomorrow.

Monday, October 10, 2011

Painted Papers II


HEY EVERYBODY!!!
I'm back!
Finally, I know.
It's been a while. 
And I've missed it, I really have. 
I've just been really busy with school and volleyball stuff.
And busy planning for NaNoWriMo.
But more on that later. 
It's just good to be back after being gone. 
It feels like longer than just a few days though.

Today was actually my first time doing anything with paint in about a week, so that was good for me too. 
I was basically just playing around with papers and stuff.
Making up some new techniques.
And working on some stuff for my Layering tutorial. :)
So yeah. The page above is probably one of my favorites.

Basically to make it was pretty simple. 
I took a plain sheet of printer paper and a white crayon.
And then, using the crayon I drew hearts over the whole thing.
I made some watercolors and went over then whole thing with a light pink.
The crayon resisted the paint.
Then I used a darker pink wherever the hearts were. 
I love it.


This one used pretty much the same technique.
But I used another color.
And I drew a different shape.
In the last one I did some basic hearts.
And in this one I did some Traci Bautista inspired doodle flowers. 
If you've ever seen Traci's work, you'll know what I'm talking about.
If you haven't seen her stuff, you really should look her up.
She's an art journaling genius.
Really.


Here are some index cards that I was playing around on.
I love the size. 
They're just so small.
And cute.
So yeah. I'm not going to describe the techniques I used on these cards,
Because if I did, then I'd be up all night.
Because, if the truth be told, I really don't know.
I was just messing around, and I used several different techniques per card.
I was just trying to develop some ideas.
If you know what I mean.


This is a dyed paper towel that I did real quick to use up some leftover washes I had.
I didn't want to be wasteful.
Yet I didn't really want to do anymore washes either. 
I basically just took a paper towel and folded it up.
Then I folded that in half.
I dipped one end in blue dye.
And the opposite end in a black one.
I really like the way this one turned out.
The white stripes are the white of the paper towel showing through.
This is going to be fun to use.


And last, but definitely not least, we have a paper that I made using a homemade stamp.
You can see it above.
The little flower doodle into foam.
How cute.
I made this paper, and even though I love the way it turned out, I have no idea how I got that effect.
I wish I could remember. I'll have to do some experimenting to find out.
All in all I think I did seventeen papers. 
Cool, huh?

Anyways.
Like I said in the beginning, I haven't been around much because of NaNoWriMo.
I did it last year. 
It's basically a challenge to write a 50k novel in the month of November.
And I've been planning. 
Planning like crazy.
Doing the plot, and the scenes, and trying to layer the story.
Yeah. I think this is going to go well.

Friday, September 2, 2011

Art Journal Page + Dream Index Card


Hey guys! I'm back with a bit more of my work for today. I love working in my journal, and I managed to make a few things today. :) I'm participating in quite a few monthly/weekly/daily challenges. I'm kind of addicted to these, but they're so fun that I can't help it. :) If you look at the page above, you can see something that I've been working on. It's in my art journal for 21 secrets. I started out with an oil background. I loved the way it looked, but I just didn't know what to do from there. I stenciled some flourishes on it with black poster paint, and then I ended up painting over the entire thing with a burnt orange paint. I lifted some of it off with another piece of paper, creating a sort of distressed look. Then I went over the whole thing  with gesso, and painted stripes of the same burnt orange color. That's all I've got so far on THIS page. :)


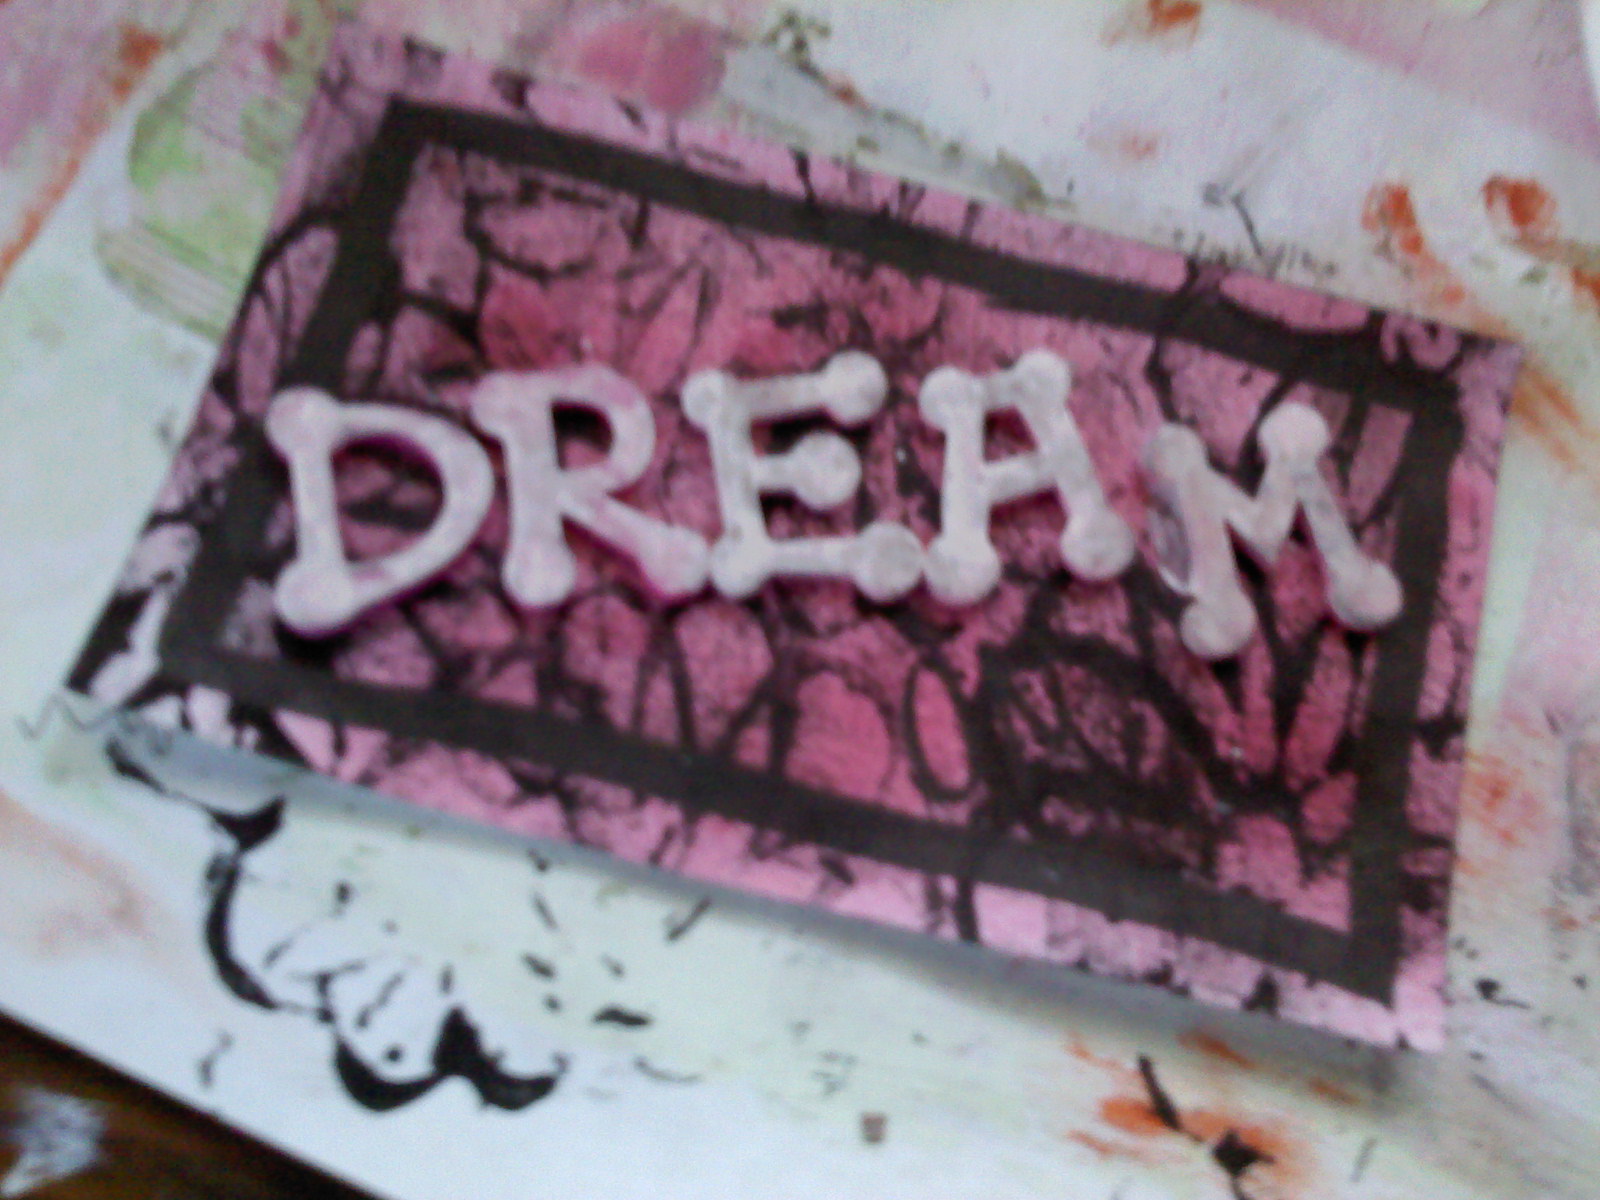
And this last thing that I've got for you. A 3x5 altered index card. This is something new that I'm starting. Over at daisyyellow, in the month of September, she challenged us to make 25 altered index cards. Her and a bunch of other people did the same thing over the summer, and I started near the beginning, but it ended up just being an epic fail. This was a really easy card, and there were really only five or six layers to it. The first layer I just took my index card and sprayed it with some glimmer mist. After that I used a foam stamp and some black poster paint to put some flower on it. I smeared those around with my fingers a little, and then drew a frame around it with a marker. I sprayed one more layer of glimmer mist over the top, then added the letters. They were all different colors, so I painted them a bit, and lifted some of it off the top with a piece of book paper. And that's all she wrote. :P That's what I've got for you guys today, and I'll see you tomorrow. :)

Wednesday, August 31, 2011

Painted Dictionary Pages


Hey guys! I'm here once again. So Blogger updated their blog layout, and as I type this, I'm sort of confused as to how this whole thing works. So let's just hope that my layout stays basically the same. I kind of like the new look though. It's different, but fairly clean and organized. Pretty cool. Today I want to share with you some painted papers that I've been working on. I started out by finding some paper to work on; I ended up going with some smaller sheets that I tore out of an old dictionary. I then painted a bunch of random colors onto it. I like the way it's working. My favorite color combination is lime and blue, so that's what I ended up with. I added some white, and a bunch of periwinkle.

Loose papers are so my new thing. I love working with them, and it's a lot different than I am used to. I kind of like that. You know, seeing something different. A change is always good. Sometimes that's what you need. Something different to kick you forward, and help you decide what is best for your artistic/creative side. Sometimes you just need to figure out something new. Something improved. And something different. I challenge you to try something different. And tell me all about it in the comments. :) See you guys later.
Related Posts Plugin for WordPress, Blogger...